Do you want to make your living space more unique without spending a lot of money? Starting a do-it-yourself (DIY) project to decorate your home is the best choice. Not only can you be creative with it, but you can also adapt your interior to your style. This article shows you how to create a fun and easy DIY home decor project that will help you make your room your own.
Materials Needed:
- Frame your photo in canvas or wood and choose a size that suits your space.
- Choose a color scheme that matches the rest of your home’s decor.
- Brushes come in different sizes to suit different tasks.
- Painter’s tape can be used to draw straight lines and shapes.
- For more complex patterns, you can use templates or stencils.
- Use Mod Podge or a clear sealer to protect and enhance the finished product.
- Use old newspapers or rags to keep your work area clean.
How to Get Started:
Step 1: Get Your Canvas Ready
To protect your workplace, start by laying down old newspapers or clothes. Make sure the cloth is clean and dust-free before placing it on a flat surface.
Step 2: Choose a Style
Choose a style for your DIY interior. There are many options, such as abstract art, geometric shapes, or nature-based themes. Here you can show your talents.
Step 3: Apply Primer
Use a wide paintbrush to apply a thin layer of base color to the entire canvas. Let it dry completely before moving on to the next step.
Step 4: Create the Pattern with Tape
Once the primer has dried, you can use painter’s tape to create patterns or sections on the fabric. They can be stripes, chevrons, or a mixture of different geometric shapes. To prevent the paint from bleeding, press the tape firmly.
Step 5: Add Color to the Edges
The fun part is now! Fill the spaces left by the masking tape with different colors of paint. Try combining colors in different ways and let your mind run wild.
Step 6: Remove the Painter’s Tape
Only carefully remove the painter’s tape when the paint is completely dry. This makes clear, sharp lines visible and makes your DIY decor look more professional.
Step 7: Finish by Adding Details
Use a smaller brush or stencil to add fine details or decoration. Once you are happy with the result, let it dry completely.
Step 8: Close the Deal
Apply a coat of Mod Podge or a clear sealant to protect your art. Not only does this make the color look better, it also makes your DIY art last a long time.
Step 9: Make Changes and Adjust
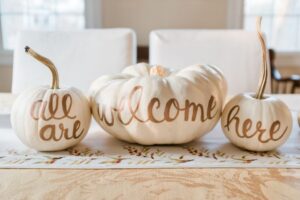
If you want to make your interior design project even better, consider adding a personal touch. Add something important to you, such as your initials, a date, or even words that speak to you. These small details give your work a unique look and show your identity.
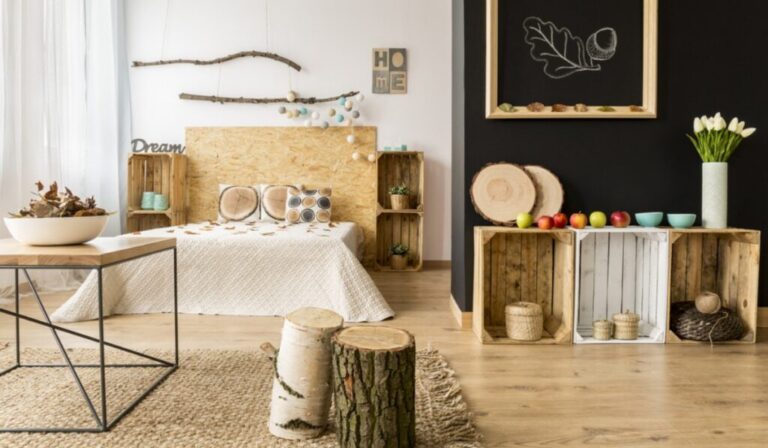
Step 10: Build the Gallery Wall
After you’ve completed your beautiful DIY project, you may want to create a gallery wall. You can create a show that looks good by mixing and matching artwork, photos, and even mirrors. This not only gives your interior more depth but also fluidly shows your imagination.
Step 11: Showcase Your Work on Social Media
Document your self-guided tours and share the changes on social media. Join the crafting community by using the right words and meeting other people who love DIY. Not only will this give you ideas, but seeing others enjoy and copy your work will also make you feel good about your work.
Step 12: Investigate All Possible Outcomes
This DIY job is just the beginning. Experiment with different methods, such as stenciling, creating collages, or even adding three-dimensional elements. Join online groups and tutorials to learn more about new trends and ideas to keep your interior fresh.
Step 13: Consider Sustainable Materials
As an extra step, consider using eco-friendly items in your projects. Recycling old items, painting them with eco-friendly paint or reusing materials are all green things you can do to make your home look better and help you live a more sustainable life.
Step 14: Contact Local Artisans
If you like making things, you might want to connect with local artists and craftsmen. Attend classes and craft meetings and purchase items from local stores that sell handmade home decor. This not only improves your skills but also brings people together in the world you create.
Step 15: Enjoy Things Changing
Take a moment to enjoy the changes to where you live. A home decor project you do yourself not only makes it more personal but also makes people want to talk about it. Enjoy the wonderful feeling of handcrafting beautiful items and let the wonderful atmosphere fill your home as you decorate.
Conclusion
By doing these things and entering the world of do-it-yourself home decor, you can not only make your living place look better, but you can also find a fun hobby. Every project you work on is fun, gives you a sense of accomplishment, and makes your home look unique. These things make crafting useful and valuable. Gather your materials, use your imagination, and use your living room as a blank canvas for your art.
FAQs
1. I am not artistic. You can still try your hand at DIY home decorating.
certainly! It’s possible to do a DIY project even if you don’t know much about it. Start with a simple pattern using a stencil or template and slowly gain confidence. Your artistic skills may surprise you.
2. How can I get ideas for home decorating jobs I want to do myself?
You can find ideas everywhere! Check out sites like Pinterest, Instagram, or blogs about home style. For unique ideas, check out craft stores, art galleries, or even outdoors. Change your current ideas to suit your style and taste.
3. What if I mess up while drawing?
Mistakes are normal, and they often spark new ideas that you didn’t expect. If you mess up, don’t panic. After letting the paint dry, you can paint over it or use it in your designs. Remember, imperfections can add personality to your art.
4. Can I use different supplies in this DIY project?
certainly! You can try different things with different materials. You don’t have to use Canvas. You can use old boards, and fabric, or even repair an old piece of furniture. Take your time, take what inspires you, and make it your own.
5. How can I ensure that my home decor is long-lasting?
As a final step, apply a clear sealant or Mod Podge to ensure it lasts. This not only keeps the paint safe but also extends its lifespan. Also, don’t place homemade decorations in sunny or humid locations.
6. I want my children to help with this work. What do you recommend?
It’s a great idea to get the kids involved in do-it-yourself projects! Choose something safe for kids, use washable paint, and let them get creative. Focus on the fun of making something together and think of simpler ideas.